
Need to reset your camera to resolve issues or prepare it for new ownership? This guide on how to reset a camera walks you through the essential steps for various camera models, ensuring optimal performance and security.
Key Takeaways
- Resetting your camera to factory default settings can resolve performance issues, protect privacy when selling or transferring, and address connectivity problems.
- Before performing a reset, back up important data, remove the camera from associated apps, and note Wi-Fi details to avoid data loss and connection issues.
- The reset process varies by camera type: built-in batteries often use a reset button, cameras with battery packs may require removing and reinserting the battery, while wired cameras typically have a reset button accessible with a pointed object.
1 Why Resetting Your Camera is Important
Imagine being on a photoshoot, and your camera suddenly starts acting up. The autofocus is haywire, the settings are all over the place – it’s a nightmare for any photographer. This is when a settings reset comes in handy. Resetting the camera can eliminate those frustrating glitches by restoring the camera settings to their original factory default settings, also known as initial settings. This process is like rejuvenating your camera, clearing out the cobwebs and allowing it to perform at its peak once more.
But it’s not just about performance. Have you ever considered what happens to all your data when you decide to upgrade to the latest camera model? Undertaking a factory reset is vital to maintain privacy when selling or transferring your camera. It scrubs the camera clean of all your stored settings and data, leaving no trace of your usage behind. Think of it as a digital eraser that safeguards your personal information from falling into the wrong hands.
Connectivity issues, such as erratic Wi-Fi performance, are also common culprits that can hinder your camera’s functionality. A camera reset can effectively tackle these issues, ensuring you stay connected whether you’re streaming live footage or transferring files. Remember, resetting is more than just a troubleshooting step; it’s a vital practice for maintaining both the performance and privacy of your camera.
Precautions Before Resetting
Before you proceed to reset your camera, take a moment to ponder the consequences. Have you backed up those memorable videos or customized settings? For Nest cameras and doorbells, saving your precious memories is pivotal before a factory reset wipes the slate clean. Create video clips, timelapses, or simply download your footage to ensure nothing valuable is lost in the reset process.
If you’re using a Google Nest product, you should equally prioritize:
- Removing each camera from the app it was initially set up with
- Planning to part ways with your camera or start afresh with a new account? Make sure to cancel that 1st gen Nest Aware subscription before you hit the reset button
- However, if you’re sticking with the same account, breathe easy – there’s no need for cancellation.
Keep in mind that a factory reset will make your camera to forget the Wi-Fi network name and password it’s been cozy with. It’s like amnesia for your device; it won’t remember how to connect to the internet unless you reintroduce it. So, jot down those crucial camera settings or take a screenshot, as they’ll be your guide to restoring your camera’s connectivity post-reset.
How to Locate the Reset Button
Now, it’s time to reset button locate. The location of this tiny savior varies depending on your camera model, but it’s typically found on the back or bottom of the device. For instance, Google Nest Cam (battery) owners will find the reset button cozily nestled next to the USB port. If you’re a proud parent of a Google Nest Doorbell (battery), look behind the faceplate to spot the reset button.
For those with a wired setup, you’ll likely discover the reset button on the bottom of a Google Nest Cam Indoor (wired). And if you’re dealing with the 2nd Generation of the Google Nest Doorbell Wired, prepare to engage in a mini-operation by locating the small hole on the backside of the top of the device. Once you’ve located the reset hole, gently press and hold the button inside with a paper clip or thumbtack for about 12 seconds to commence the reset.
Steps to Perform a Factory Reset on Different Camera Models
The path to resetting nirvana varies as much as the cameras themselves. Whether you own a sleek handheld camcorder or a sturdy security cam, the factory reset process can differ substantially. Some camera models pride themselves on their handy reset button, while others prefer to tuck the option away within the camera menu.
To explore these different options and perform initialize, ensure you have the manual supplied operating guide close at hand – it’s the map to your camera’s soul.
Cameras with Built-In Batteries
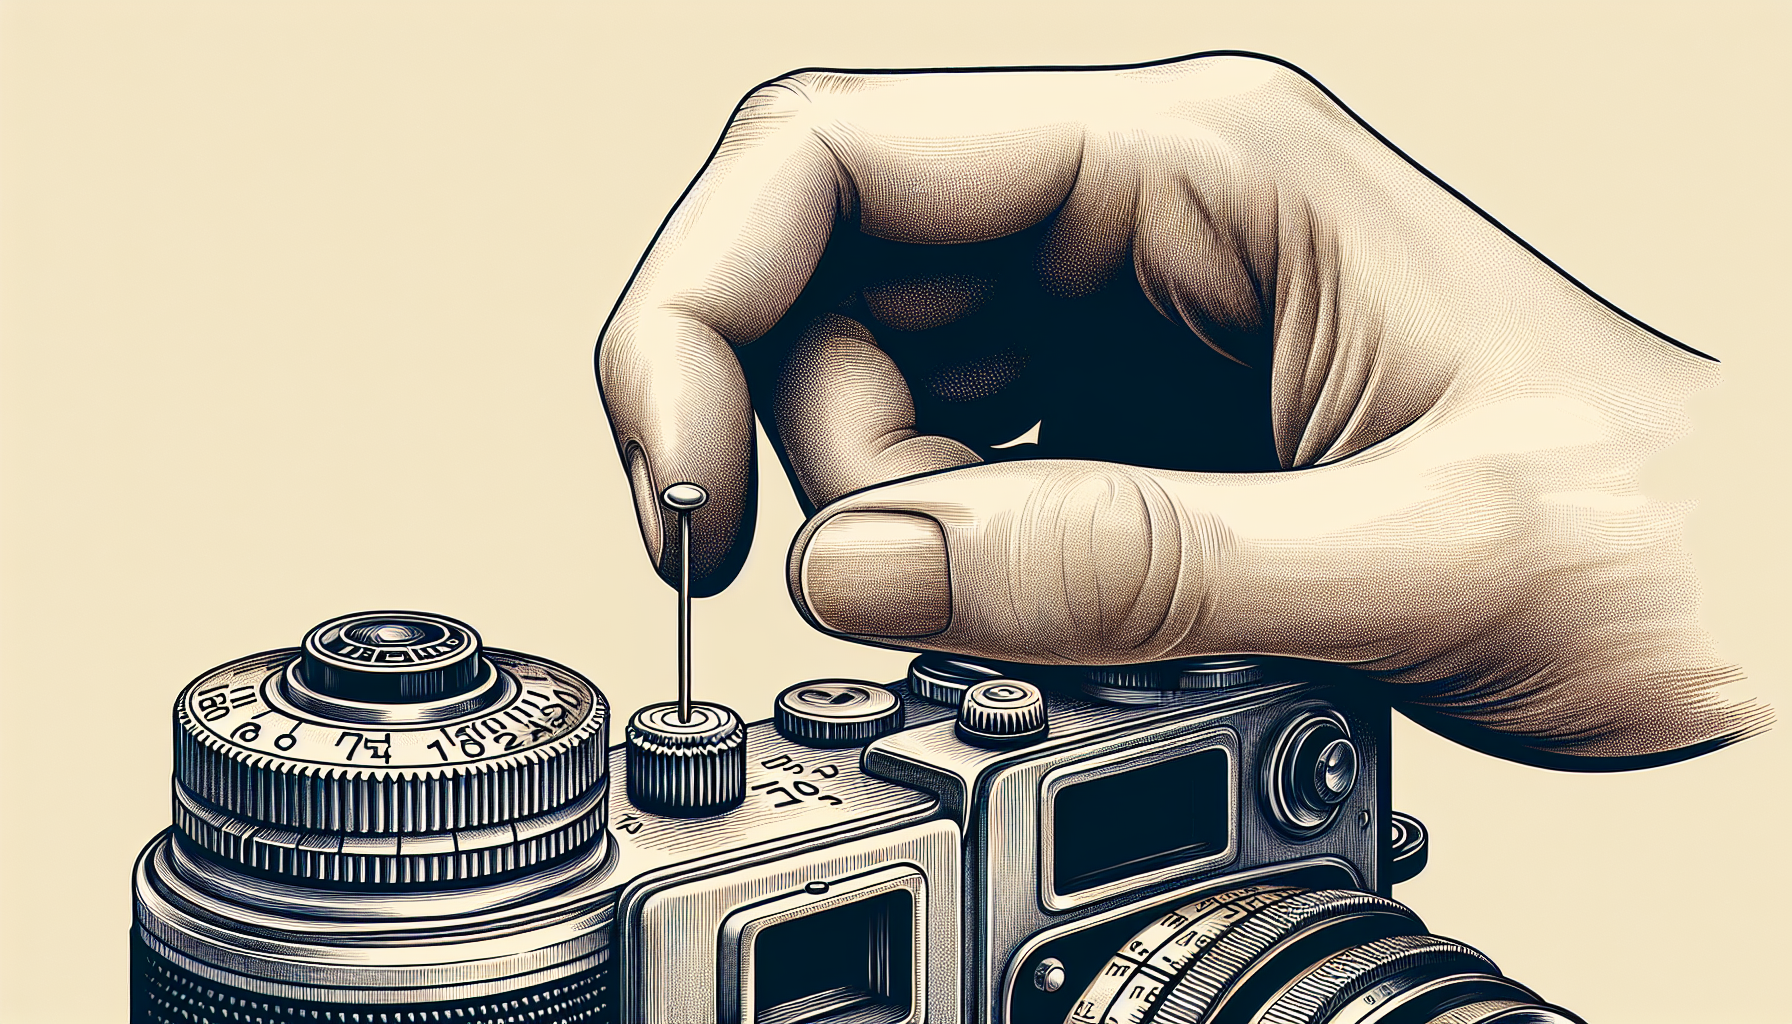
For those cameras with a built-in battery, the reset process is as simple as pressing a button – literally. Here’s how to do it:
- Power on your camera.
- Gently press and hold the RESET button with a pointed object like a ballpoint pen for a brief 2-3 seconds.
- After holding it for the necessary duration, release it and let the camera do the rest.
But what if your camera is one of those models that shunned the idea of a dedicated reset button? Fear not, for some cameras will graciously accept a long press of the POWER button – up to 30 seconds – as a sign to reset. It’s an alternative method that some older models employ, offering a simple solution to what could be a perplexing problem.
Cameras with Battery Packs
Cameras with battery packs demand a slightly more hands-on approach. First, power down your camera and remove the battery pack along with the button-sized lithium battery – think of it as a gentle unplugging. The reset button, in this case, is often hiding on the rear or underside of the camera, waiting to be found.
Once you’ve successfully disarmed your camera, give it a moment – around 30 seconds – to catch its breath. Then, reinsert the batteries, and power on the camera. This simple act of removal and reinsertion can be the soft reset your camera needs to return to its default glory.
Wired Cameras
Wired cameras, with their constant connection to power, also have their own reset ritual. Here’s how to reset a wired camera:
- Locate the reset button, often found between the power cord and the camera neck.
- Using a pointed object, press and hold the reset button for about 12 seconds.
- Notice a change in the status light – it’s a sign that your camera is shedding its old skin and resetting.
If you encounter a wired camera model with a reset button that’s more accessible, a quick press and hold for 2-3 seconds will suffice. Be sure to use a pointed object for this process, as it lends the precision needed for such a delicate operation.
Using the Menu Layout to Reset the Camera
At times, the reset button may seem a little hard to find, or perhaps your camera model prefers a more sophisticated approach. Enter the menu layout – a labyrinth of options that holds the power to reset your camera. But tread carefully, for the menu layout’s secrets are not universal. Each camera model whispers its own unique instructions, which are faithfully recorded in the operations manual.
For those who wish to perform a selective cleanse, only some models of cameras offer the reset option to reset specific settings, leaving cherished data like movies and photos untouched. Again, rely on the operations manual for guidance here, holding the key to understanding the different reset options available for your camera model.
Common Issues and Error Codes During Resetting
Just like any technological undertaking, the journey to a successful reset may not always be smooth. Power outages or changes in your Wi-Fi settings can lead to a necessary reset to re-establish a connection. But what if the reset itself runs into trouble? That’s where error codes come in – little beacons of information that help diagnose the issue at hand.
From error code beginning C100 to C390, these cryptic messages cover a spectrum of connection issues. For instance, if you’re faced with codes like C103 or C223, your camera is having a tough time finding or connecting to the Wi-Fi network. Incorrect Wi-Fi passwords will flash codes like NC005 or NC006 your way, signaling that it’s time to double-check your credentials.
If the camera stubbornly refuses to power on after a reset, it might just be in need of a good charge. Connect it to its charger and give it some time. Should the camera still not wake from its slumber, Google Support is your next port of call.
And remember, when temperatures plunge, your outdoor cameras might need a reset to thaw from their frozen state and spring back into action.
What to Do After Resetting the Camera
Once the reset is complete, your camera is like a blank canvas, ready to be set up once again in the Google Home app. It may appear as ‘Offline’ at first, but don’t worry – this is just a temporary state until you remove and re-add the camera to the app.
If your camera uses a variety of apps, like those that support PlayMemories Camera Apps. In that case, you’ll need to roll up your sleeves and reinstall any applications that the reset might have unceremoniously uninstalled. While certain cameras may hold onto movies and photos post-reset, others will not be so kind, so reinstallation might be necessary.
When it’s time to remove the camera from the app, simply navigate to the device settings, select ‘Remove device,’ and confirm your choice. This final step will ensure that your camera is truly reset and ready for a fresh start.
Summary
Throughout this guide, we’ve navigated the intricacies of resetting a camera to its factory default settings. From understanding the importance of a reset for functionality and privacy to discovering the reset button’s hideout, we’ve covered a lot of ground. We delved into the specific steps required for various camera models, tackled common issues, and error codes, and outlined the path to follow post-reset.
Recall the feeling of reassurance knowing that your personal data is secure when you pass on your camera to its next owner. Or the satisfaction of watching your camera return to its peak performance after a simple reset. Remember, the reset option is more than just a fix; it’s a means to rejuvenate your camera and extend its life.
As you move forward, keep this guide as a handy reference for any future resetting needs. May your camera settings always reflect your preferences, and your reset processes be smooth and error-free. Here’s to capturing life’s moments with a camera that’s always ready to perform at its best!
Frequently Asked Questions
What should I do if my camera doesn't have a reset button?
If your camera doesn't have a reset button, try holding the power button for up to 30 seconds, as this might perform a hard reset. For specific instructions, refer to your camera's operating guide.
Will resetting my camera erase all my photos and videos?
Yes, a factory reset of your camera can erase all stored settings and data, including photos and videos, so it's important to back up your data before proceeding.
What do I do if I encounter an error code during the reset process?
If you encounter an error code during the reset process, consult your camera's operating manual or contact support to understand the meaning of the code and for troubleshooting steps. Remember that error codes may indicate specific issues like connection problems or incorrect Wi-Fi passwords.
How do I set up my camera after a reset?
After resetting your camera, you can set it up again by using the Google Home app and following the app's instructions to reconnect it to your network. If you had any apps or custom settings, you may need to reinstall them.
Can I reset specific settings without affecting other data?
Yes, some cameras allow you to reset specific settings without affecting other data. Consult your camera's manual for instructions tailored to your model.


