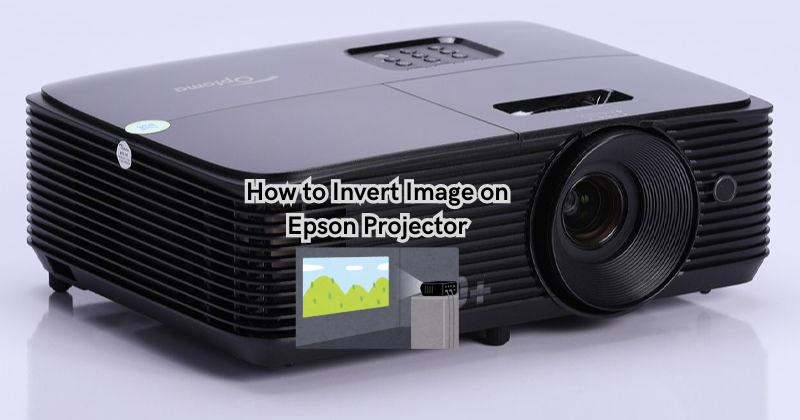
If you've ever needed to adjust the image orientation on your Epson projector, you're in the right place. Inverting the image on an Epson projector is a straightforward process that greatly enhances your viewing experience.
Whether it's for a business presentation, home entertainment, or educational purposes, knowing how to invert the image properly can make a significant difference in the quality of your projected content.
In this guide, we'll walk you through step-by-step instructions to easily achieve the desired image inversion on your Epson projector, ensuring that your visuals are displayed precisely as you intend.
Why is the Epson Projector Projecting Upside Down?
Before we dive into how to invert the image on your Epson projector, let's first understand why this issue may occur. There are a few reasons why your Epson projector may be projecting upside down or in an inverted image.
- Incorrect Projection Mode: One common reason for image inversion is the incorrect projection mode on your Epson projector. Depending on the type of content you are projecting, you may need to switch between front and rear projection modes.
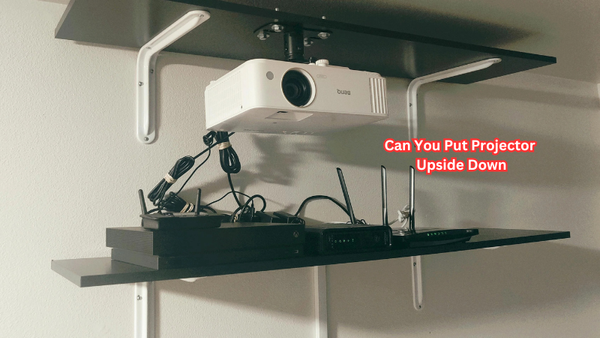
- Ceiling Mounting: Another common reason for image inversion is if your projector is mounted on the ceiling. In this case, the projected image may appear upside down because it's being displayed from an inverted angle.
- Software or Hardware Issue: In some cases, the issue may be caused by a software or hardware malfunction. If you've tried adjusting the projection mode and your projector is not ceiling-mounted, then there may be a technical problem that needs troubleshooting.
By changing the projection mode or adjusting the positioning and settings of your projector, you can usually resolve the issue. However, if the problem persists, you may need to contact Epson customer support for further assistance.
How to Invert Image on Epson Projector- Step-by-Step Guide
Now that we understand why image inversion occurs on an Epson projector let's dive into the steps to fix it.
Step 1: Understanding Image Inversion
Before diving into the steps, let's clarify what we mean by inverting an image on a projector.
Image inversion refers to flipping the projected image upside down or left to right, depending on your desired orientation. This can be particularly useful when you need to mount the projector upside down from the ceiling or project onto a rear screen.
Translucent screen materials require the image to be inverted to appear correctly when viewed from the front. By projection mode using the settings on your Epson projector, you can easily achieve this inversion.
Step 2: Adjust Projection Mode
The first step to fixing image inversion is adjusting the projection mode on your Epson projector. Extended menu options are available on most Epson projectors, allowing you to easily switch between front and rear projection modes. To do this, follow these simple steps:
- Press the 'Menu' button on your remote control. The settings menu should appear on your screen. Hold the A/V Mute button on the remote control for five seconds to change the projection mode.
- Using the arrow keys, navigate to the 'Options' tab and select it.
- Under the 'Options' menu, select 'Projection' and then choose 'Front Projection' or 'Rear Projection,' depending on your desired projection mode.
- After selecting the correct projection mode, exit the menu and check if your projected image is now displayed correctly. If not, proceed to the next step.
Projection mode to flip the image vertically and achieve the desired inversion. Change the projection mode using the settings on your Epson projector, and you should notice an immediate change in the image orientation.
Step 3: Adjust Keystone Correction
If changing the projection mode did not fix the image inversion issue, you may need to adjust the keystone correction on your projector. Keystone correction is a feature that allows you to manually correct any distortion in the projected image caused by an uneven surface or angle of projection.
- Press the 'Menu' button on your remote control.
- Select the 'Keystone' option under the 'Image' tab.
- Use the arrow keys to adjust the keystone correction until your projected image appears correctly.
- Exit the menu and check if your image is now inverted.
Step 4: Fine-tune the Image Orientation
If the above steps do not work, you may need to fine-tune the image orientation manually. Follow these steps:
- Press the 'Menu' button on your remote control.
- Navigate to and select the 'Orientation' option under the 'Image' tab.
- Use the arrow keys to adjust the horizontal or vertical flipping until your projected image appears correctly.
- Exit the menu and check if your image is now inverted.
- If not, repeat the process until your desired orientation is achieved.
Congrats! You've successfully inverted the image on your Epson projector. Remember to always double-check the projection mode before assuming there's an issue with your projector, as this can
Step 5: Troubleshooting Hardware or Software Issues
If none of the above steps have resolved the issue, then your Epson projector may have a hardware or software problem. In this case, it's best to consult the manual or contact technical support for further assistance.
These are the simple steps to easily invert the image on your Epson projector. Remember, understanding why this issue occurs and how to fix it can save you time and frustration in the long run.
Tips for Optimal Projection
Aside from fixing image inversion, here are some additional tips to keep in mind for optimal projection:
- Make sure your projector is placed on a stable surface and is not obstructed by any objects that may affect the projected image.
- Regularly clean the lens of your projector to ensure clear and crisp visuals. Images display better when the lens is not smudged or dusty.
- Adjust the brightness and contrast settings according to the lighting conditions in your projection space.
- Keep the projector at a safe distance from any sources of heat, as this can affect its performance and lifespan.
- Use high-quality cables and connections to avoid any signal or image quality issues.
Following these tips will not only help prevent image inversion but also ensure the best possible viewing experience for you and your audience.
Epson Customer Support
If you encounter any issues with your Epson projector, you can always rely on their excellent customer support team for assistance. They have a dedicated technical support hotline and online resources to help troubleshoot any problems and provide solutions.
Furthermore, Epson regularly releases firmware updates for their projectors, which can also help resolve any software-related issues. Make sure to check for updates and install them when available. However, you can find your product's user manual or the Epson website for more information on how to update your projector's firmware.
FAQs
Why is the Epson projector projecting upside down?
This is likely due to the default projection mode being set to upside down for certain types of installations, such as ceiling-mounted or rear-screen projection. Plus, some projectors have a ceiling mount detection feature that automatically inverts the image for ceiling installations. Adjusting the projection mode should fix this issue.
Can I invert the image on any projector?
Most projectors can invert the projected image, but the process may vary. Consult your projector's manual or contact technical support for assistance.
Why do I need to adjust the keystone correction?
Keystone correction is necessary when projecting onto an uneven surface or at an angle, causing distortion in the image. Adjusting this feature helps to correct the distortion and ensure a clear and accurate image projection. So, it is important to always check and adjust keystone correction if needed for optimal viewing experience.
Are projector images inverted?
No, projector images are not inherently inverted. It depends on the projection mode and any manual adjustments made to the image orientation. By default, projectors project an upright image.
Conclusion
Mastering the art of inverting the image on your Epson projector opens up a world of possibilities, allowing you to customize the display to suit different environments and presentation needs.
Whether you're mounting the projector on the ceiling, setting it up for rear projection, or simply adjusting the image orientation for optimal viewing, understanding the process empowers you to make the most of your projection experience.
Following the outlined steps, you can effortlessly manipulate the projected image, ensuring it aligns perfectly with your specific requirements.
This level of control not only enhances the visual impact of your presentations, movies, or other content but also reflects a deeper understanding of your projector's capabilities.
With these techniques at your disposal, you have the tools to harness the full potential of your Epson projector and deliver impressive, tailor-made visuals for any occasion.


