Installing security cameras outdoors is an important step in securing your property and giving you peace of mind. With the advancements in technology, outdoor security cameras have become more affordable and accessible for homeowners.
Whether you want to keep an eye on your front door, monitor your backyard, or protect your entire property, installing outdoor security cameras can greatly enhance the safety of your home.
In this guide, we will discuss all the steps involved in installing outdoor security cameras to help you set up a surveillance system that meets your specific needs.
We will cover everything from choosing the right type of cameras to finding the best location for installation and setting up the cameras for optimal performance. Follow these steps and you will have a fully functional outdoor security camera system in no time.
What is an Outdoor Security Camera?
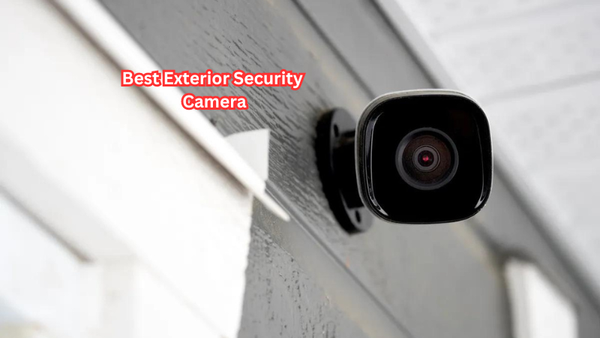
An outdoor security camera is a surveillance camera specifically designed for use outdoors. These cameras are built to withstand various weather conditions and have additional features to ensure maximum functionality in an outdoor setting. They are often used by homeowners, businesses, and even law enforcement agencies to monitor the exterior of a property.
Outdoor security cameras come in different types such as bullet cameras, dome cameras, and PTZ (pan-tilt-zoom) cameras. Each type has its unique features and benefits, so it's important to choose the right one based on your specific needs. Some common features of outdoor security cameras include night vision capabilities, motion detection, and remote access.
Plus, with the rise of smart home technology, outdoor security cameras can now be easily integrated into existing security systems and controlled through a smartphone or other devices. This makes it convenient for homeowners to monitor their property from anywhere at any time.
Steps for Installing Outdoor Security Cameras
Installing outdoor security cameras may seem like a daunting task, but with the right tools and knowledge, it can be done easily. Here are the steps involved in installing these cameras:
Choose the right location
The first step in installing outdoor security cameras is to choose the right location. This will greatly impact the effectiveness of your surveillance system. Here are some factors to consider when choosing a location for your cameras:
- Coverage: Identify the areas you want to monitor and make sure the camera has a clear view of those areas. Plus, consider the field of view and range of the camera to ensure it can capture the desired footage.
- Accessibility: Make sure the location is easily accessible for installation and maintenance. You don't want to choose a spot that requires a ladder or other equipment to reach.
- Weather protection: Look for areas that provide some form of shelter for your camera, such as under an eave or awning. This will protect it from harsh weather conditions and extend its lifespan.
- Power source: Your cameras will need a power source, so make sure there is an outlet nearby or opt for battery-powered cameras if necessary. Also, consider the ease of running power cables to the camera location.
- Privacy concerns: Be mindful of privacy laws and avoid pointing your cameras towards public areas or your neighbor's property. This can lead to legal issues in some jurisdictions.
By considering these factors, you can choose the best location for your outdoor security cameras and ensure optimal performance.
Get the necessary equipment
Once you have chosen the location for your outdoor security cameras, it's time to gather all the necessary equipment. You will need:
- The chosen type of cameras (bullet, dome, PTZ)
- Mounting brackets and screws
- A power supply (outlet or battery)
- Ethernet cables or a Wi-Fi connection for internet access
- A ladder and/or a drill (if necessary)
It's important to choose high-quality equipment to ensure the durability and functionality of your outdoor security cameras. Plus, make sure you have all the equipment before beginning the installation process.
Mount the camera
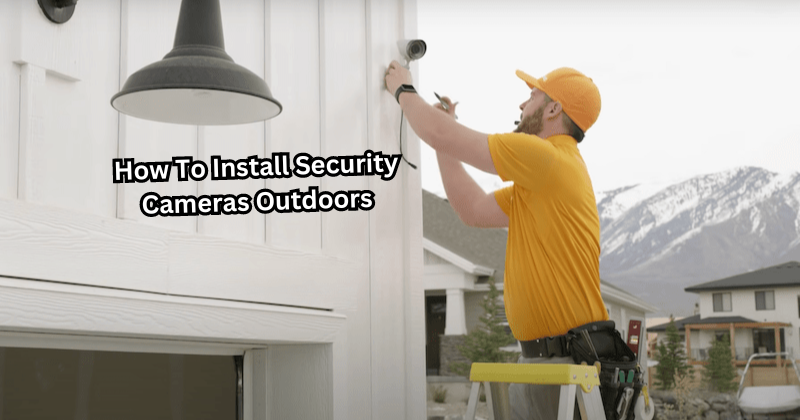
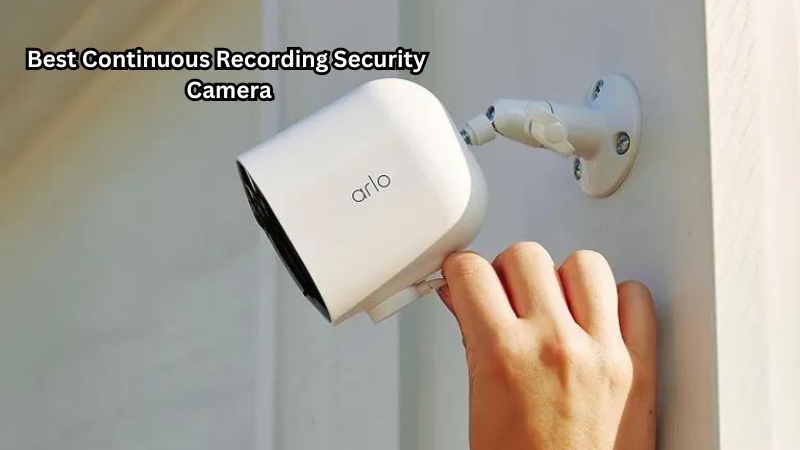
The next step is to mount the camera in its designated location. This can be done with the included mounting brackets and screws or by using other methods such as adhesive tape or clamps. Follow the manufacturer's instructions for proper installation.
Make sure the camera is securely mounted and doesn't have any loose parts that could affect its stability or performance. It's also important to ensure the camera is at a suitable height for capturing clear footage.
Connect the camera to power and the internet
After mounting the camera, connect it to a power source and an internet connection if applicable. If using an outlet, make sure to use a weatherproof outlet box for outdoor use. For battery-powered cameras, make sure to follow the manufacturer's instructions for proper installation and maintenance.
To connect the camera to the internet, you may need to run an Ethernet cable or set up a Wi-Fi connection. This will allow you to access and control the camera remotely.
Adjust the camera angle and settings
The final step is to adjust the camera angle and settings for optimal performance. Make sure the field of view covers all necessary areas, and adjust any pan-tilt-zoom features if applicable.
You can also customize motion detection settings and set up alerts for any suspicious activity. Don't forget to test the camera's night vision capabilities as well.
Once everything is set up and adjusted, make sure to regularly maintain and clean your outdoor security cameras to ensure they continue functioning effectively. By following these steps, you can have a reliable surveillance system for your outdoor space.
So these were the steps involved in installing outdoor security cameras. With proper installation and maintenance, these cameras can greatly enhance the security and protection of your property. So there's no need to worry about any potential threats lurking outside your home or business – you'll have a watchful eye keeping an eye on things at all times.
FAQs
How do I install outdoor security cameras?
To install outdoor security cameras, first, choose the best locations for maximum coverage. Secure the mounts to walls or ceilings, connect the cameras to a power source, and follow the manufacturer's instructions for setup. Ensure the outdoor cameras are weatherproof and positioned to avoid glare and obstructions.
What is the difference between wired and wireless outdoor security cameras?
Wired security cameras require physical cables for power and video transmission, while wireless outdoor security cameras use Wi-Fi for data transfer and typically need only a power source. Wireless cameras offer more flexibility in placement, whereas wired cameras often provide more stable connections and better image quality.
Can I use indoor cameras for outdoor surveillance?
Indoor cameras are not designed for outdoor use due to lack of weatherproofing and durability. It is important to install outdoor security cameras specifically designed to withstand outdoor conditions, ensuring reliable performance and protection against the elements.
How should I position my home security camera outdoors?
When positioning your home security camera outdoors, choose high vantage points to cover wide areas and potential entry points. Ensure the cameras are sheltered from direct sunlight, rain, and other weather conditions. For wireless cameras, make sure they are within range of your Wi-Fi network for a stable connection.
What are the steps to install wired security cameras outdoors?
To install wired security cameras outdoors, start by selecting the installation spots and running the necessary cables through walls or ceilings. Mount the wireless security cameras securely, connect the cables to the cameras and a power source, and configure the system according to the manufacturer’s instructions. Ensure all connections are weatherproof for long-term reliability.
Conclusion
Outdoor security cameras provide an added layer of protection and peace of mind for homeowners and business owners alike. By following the steps outlined above, you can easily install these cameras and have a reliable surveillance system for your outdoor space.
Remember to choose the right location, gather all necessary equipment, properly mount the camera, connect it to power and internet, and adjust its settings for optimal performance. Regular maintenance is also important to ensure your outdoor security cameras continue functioning effectively.
By having these cameras installed, you can monitor your property remotely at any time and be alerted to any suspicious activity. With the advancements in technology, outdoor security cameras have become more affordable and user-friendly, making them a valuable investment for added security.
