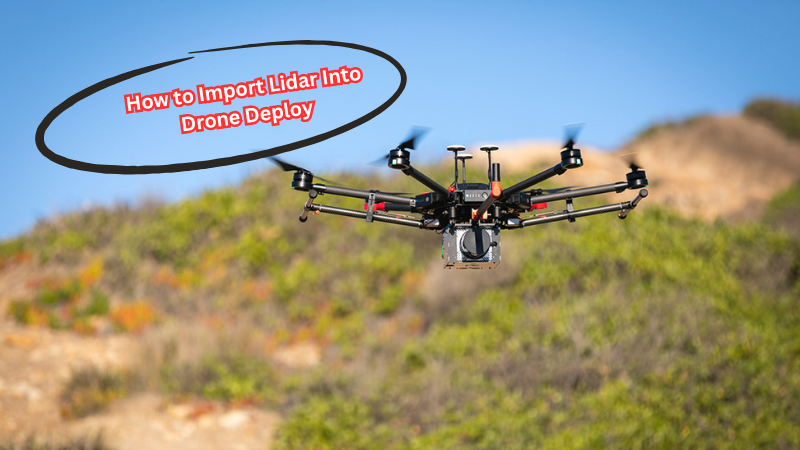
Lidar technology, short for Light Detection and Ranging, is a cutting-edge method for capturing incredibly precise geographic data.
It plays a vital role in applications like terrain mapping, vegetation analysis, and construction planning. When paired with Drone Deploy, a powerful platform for processing and visualizing drone data, Lidar’s potential is amplified, offering improved mapping accuracy and deeper analytical insights.
This guide is designed to help you seamlessly import and integrate your Lidar data into Drone Deploy. With clear, step-by-step instructions, we’ll walk you through the process, ensuring you can fully leverage the platform’s capabilities. Unlock new possibilities in mapping and analysis by combining the precision of Lidar with the versatility of Drone deployment.
What is Drone Deploy?
Before diving into the import process, let’s quickly review what Drone Deploy is and how it can benefit your data analysis.
Drone Deploy is a cloud-based software platform that allows you to plan, capture, and analyze aerial imagery with ease. It offers powerful mapping and processing tools for creating high-resolution maps, 3D models, and more from drone-captured images.
Some key features of Drone Deploy include:
- Automated flight planning: Easily create optimal flight plans for your drone missions.
- Real-time image stitching: See your map taking shape in real-time as the images are being captured.
- Accurate georeferencing: All maps and models are precisely geolocated, allowing for easy integration with other GIS software.
- Advanced analytics: Measure distance, volume, and area in your maps for detailed analysis.
- Seamless data sharing: Collaborate and share your maps with team members or clients instantly through the cloud.
These features, along with the ability to integrate Lidar data, make Drone Deploy a powerful tool for aerial mapping and analysis.
Benefits of Combining Lidar with Drone Deploy
Lidar technology offers unparalleled precision in capturing topographical data from the air. By combining it with Drone Deploy, you can take your mapping and analysis capabilities to the next level. Here are some key benefits of using Lidar data in conjunction with Drone Deploy:
- Increased accuracy: Lidar’s laser sensors capture terrain data with a high level of precision, resulting in more accurate maps and models.
- Enhanced detail: With its ability to penetrate through vegetation, Lidar provides more detailed information about surfaces and objects on the ground.
- Expanded applications: By incorporating Lidar data into your maps, you can open up new possibilities for analysis and insights. For example, you can use Lidar data to create digital surface models (DSMs) for vegetation analysis or to detect changes in elevation over time.
- Streamlined workflow: Drone Deploy’s user-friendly interface and automated processes make it easy to integrate and process Lidar data into your maps seamlessly.
Overall, the combination of Lidar and Drone Deploy offers a powerful solution for capturing, analyzing, and visualizing precise geographic data from above.
How to Import Lidar into Drone Deploy
Now that we have a better understanding of Drone Deploy and the benefits of combining it with Lidar, let’s dive into the process of importing Lidar data into the platform. Follow these steps to seamlessly integrate your Lidar data with Drone Deploy:
Prepare Your Data
Before you can import your Lidar data into Drone Deploy, you need to make sure it is in the correct format. Currently, Drone Deploy supports point cloud data in LAS or LAZ file formats.
Create a New Project
Log into your Drone Deploy account and click on “Create” to start a new project. Enter the required information such as project name and location.
Upload Your Point Cloud Data
Once your project is created, click on the “Upload” button in the top right corner. Select your LAS or LAZ file from your computer and click “Open”. Your data will then be uploaded to Drone Deploy.
Process and Analyze Your Data
Drone Deploy will automatically process your Lidar data into a point cloud map. From here, you can use the platform’s powerful tools to analyze and visualize your data. Some key features to take advantage of include:
- Point cloud filtering: Use filters to remove any unwanted points from your map, such as vegetation or buildings.
- Point density visualization: Visualize the point density of your Lidar data for a better understanding of the terrain.
- Shapefile import: Bring in additional GIS data, such as roads or buildings, to overlay onto your point cloud map for more context.
Export Your Map
Once you have processed and analyzed your Lidar data, it’s time to export your map. Click on the “Export” button and select the desired file format, such as GeoTIFF or PDF. You can also choose to export specific layers or sections of your map.
Integrate with Other Software
Drone Deploy makes it easy to integrate your Lidar data with other GIS software for further analysis. Simply export your map as a compatible file format and import it into the software of your choice.
These are the basic steps for importing Lidar data into Drone Deploy. However, the platform offers many more advanced features and capabilities that you can explore to get the most out of your mapping and analysis projects.
Troubleshooting Common Issues
As with any data integration process, you may encounter some issues along the way. Here are a few common problems and how to troubleshoot them:
- Failed upload: If your Lidar data fails to upload, make sure it is in the correct format (LAS or LAZ) and check for any missing or corrupted files.
- Inaccurate maps: If your map appears inaccurate, double-check that your coordinate system is correctly set in both Drone Deploy and your Lidar data.
- Slow processing: Large Lidar datasets can take some time to process. If you’re experiencing slow processing times, try breaking up your data into smaller chunks.
Advanced Options for Lidar Integration
For more advanced users, Drone Deploy offers additional options for integrating and processing Lidar data. These include:
- Custom coordinate systems: In addition to the standard coordinate systems available in Drone Deploy, you can also upload a custom projection file (PRJ) to ensure accuracy and alignment with your other GIS software.
- Manual point cloud editing: If needed, you can manually edit your point cloud map by removing or adjusting individual points using the platform’s editing tools.
- Automation through APIs: For those familiar with coding, Drone Deploy’s API enables automation of tasks such as importing and processing large amounts of Lidar data.
FAQs
How can I add LiDAR as additional data in DroneDeploy?
To include LiDAR as additional data in DroneDeploy, you need to upload the LiDAR files in a compatible format. This ensures seamless integration and enhances your project with better precision.
What steps are involved in completing a LiDAR upload in DroneDeploy?
Completing a LiDAR upload involves preparing the data in the required format, logging into DroneDeploy, and using the upload option to integrate LiDAR as additional data into your project.
Does importing LiDAR provide additional data for mapping in DroneDeploy?
Yes, importing LiDAR provides additional data like detailed elevation and surface measurements, enriching the accuracy and depth of your mapping projects in DroneDeploy.
Is preparing the LiDAR data crucial before completing the integration in DroneDeploy?
Absolutely! Proper preparation of LiDAR data is essential for completing the integration smoothly. It ensures DroneDeploy can process the additional data effectively for your projects.
Conclusion
By following this guide, you've learned how to seamlessly import Lidar data into Drone Deploy, from preparing your files to visualizing and analyzing the results.
This powerful combination of technologies opens up new possibilities for capturing and understanding geographic data from above. With Drone Deploy's user-friendly interface and advanced features, the integration of Lidar data has never been easier.
So why not take your mapping and analysis projects to the next level by trying out this powerful tool today?


