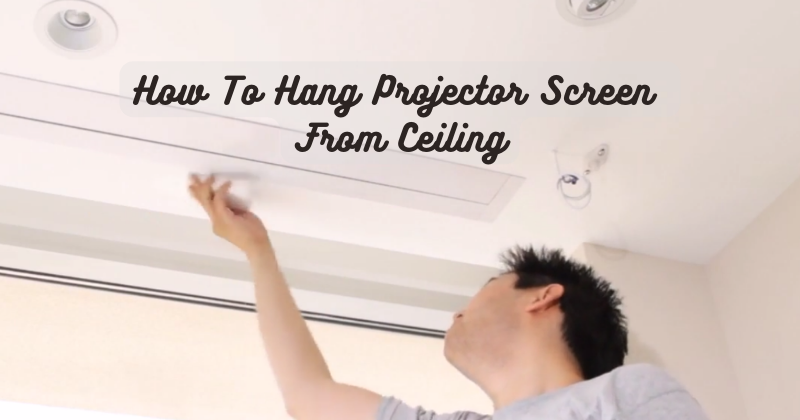
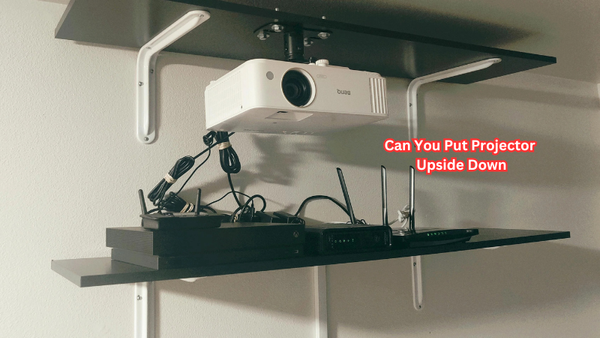
If you're looking to create a home theater experience or enhance your presentations, hanging a projector screen from the ceiling can be a great solution. You can achieve a clean and professional look by mounting the screen overhead while maximizing your viewing area. But how do you go about it?
This guide will walk you through the steps to successfully hang a projector screen from the ceiling. We'll cover the essential tools you need, the proper placement and measurements, and the various mounting options available. Whether you're a homeowner or a business professional, this guide will help you achieve the perfect setup for your projector screen, ensuring a seamless and immersive viewing experience. So, let's dive in and get started!
How To Hang Projector Screen From Ceiling?
Projector screen mounting may seem like a daunting task, but with the right tools and knowledge, it can be a simple and straightforward process. Before you begin, ensure you have all the necessary tools.
This includes a ladder, measuring tape, stud finder, drill, screws, and any other accessories that may come with your specific projector screen model. Motorized projector screens may require additional electrical tools, so make sure to review the instructions provided by the manufacturer.
Once you have all your tools ready, follow these steps to hang your projector screen from the ceiling successfully:
Determine the Proper Placement and Measurements
The first step is determining where to hang your projector screen from the ceiling. You'll need a clear, unobstructed space large enough to accommodate your screen size at a sufficient distance from the wall. Once you've identified the location, use your measuring tape to measure and mark out the exact position of the screen using a pencil.
Consider any obstructions, such as ceiling fans or light fixtures, that may interfere with your setup.
Locate the Ceiling Joists
Before you start drilling, locating the ceiling joists for proper support is crucial. A stud finder can be used to find the joist and mark its location on the ceiling. It's critical to ensure that your screen is level and centered correctly before proceeding with the installation. Make sure to double-check and mark out all the joists along the marked line, as they will serve as anchor points for your screen.
Drill Holes
Drill holes into the ceiling joists at your marked locations using a drill with an appropriate bit size. It's essential to use a leveler at this stage to ensure that the holes are drilled straight and even.
Projector mounts typically have mounting plates over the drilled holes for added strength and stability. Furthermore, use screws that are compatible with your projector screen's mounting holes and the joists.
Install Mounting Brackets
Once the holes are drilled, you can now attach your mounting brackets to the ceiling using screws. Make sure to tighten them securely for maximum support. Ceiling mount kits usually come with two types of brackets - one for attaching to the top of the screen frame and another for mounting on the ceiling. Use the best mounting hardware as recommended by the manufacturer.
Attach Screen Case
Next, attach the screen case to the mounting brackets by sliding it onto its designated slots or hooks. Make sure to follow your specific screen's instructions for proper attachment. Some projector screens come with the option of vertical and horizontal lens shift.
This feature allows you to adjust the position of the projected image without physically moving the projector itself. This can be especially beneficial if your screen is not perfectly centered with your projector.
By understanding and utilizing this feature, you can achieve a perfectly aligned image without needing constant adjustments.
Adjust the Height
You can now set the desired height for your screen using the provided adjustment mechanism. Make sure to test and adjust until you achieve a perfect level. The projector's throw distance should also be taken into consideration at this stage for optimal viewing experience.
For optimal image quality, ensure the screen is not too close or far from the projector. Projection screen manufacturers typically provide guidelines for the appropriate distance.
Secure the Screen
Once the screen case is attached, secure the top of your projector screen by locking it into place or tightening any screws provided. This will ensure your screen stays in position and doesn't shift or move around. For optimal viewing experience, make sure the screen is taut and wrinkle-free. Professional appearance is crucial for both home and business environments. The best structural integrity of your screen is essential for long-term use and maintenance.
With these simple steps, you can easily hang a projector screen from the ceiling. However, it's essential to note that various mounting options are available for different projector screens, including motorized or fixed frames. Make sure to follow your screen's specific instructions and consult with a professional if needed for more complex setups.
Additional Mounting Options For Projector
If mounting brackets is not your preferred option, there are other ways to hang a projector screen from the ceiling. Some screens have built-in hooks or loops that allow them to be hung using chains or ropes. This method is ideal for non-permanent setups and can offer more flexibility in terms of adjustment and placement. Motorized screens often come with a remote control that eliminates the need for physical adjustments, making them perfect for high-ceiling installations.
Alternatively, some screens also come with tripod stands that allow you to place them on the floor and adjust their height accordingly. This can be a great option for portable screens that you can set up in different locations. Portable screens also come in various sizes and materials, making them versatile for indoor and outdoor use. Always put your screen in an ideal location that suits your viewing preference and avoid direct sunlight to prevent potential damage.
When choosing the best mounting option for your projector screen, consider factors such as room layout, intended use, and personal preference. Properly installing and maintaining a projector screen can provide a high-quality viewing experience for years. So go ahead and transform your space into a home theater or conference room with a ceiling-mounted projector screen. The possibilities are endless!
FAQs
Do I need to mount the projector to the ceiling?
It is not necessary to mount a projector to the ceiling, but it can offer a more permanent and stable setup. Placing the projector on a flat surface or using a tripod stand may be more suitable if you prefer a more flexible option.
How do you mount a projector to the ceiling without drilling?
Some projectors come with ceiling mounting kits that use adhesive or suction cups instead of drilling. However, following the manufacturer's instructions for proper and safe installation is essential.
What height should a projector screen be from the ceiling?
The recommended height from the ceiling for a projector screen is 6-8 inches. However, this may vary depending on your specific projector and screen size. It's crucial to consider the throw distance and adjust accordingly for optimal viewing experience.
What is a ceiling mount projector?
A ceiling mount projector is a mounting system that allows the projector to be attached to the ceiling, providing a more permanent and stable installation. This is often used in home theaters or conference rooms for a professional setup. It offers more flexibility and better placement options than other mounting methods.
What is a good contrast ratio for projector?
A good contrast ratio for a projector is 1000:1 or above. This measures the difference between the brightest and darkest parts of an image, resulting in more vibrant and detailed visuals. Higher contrast ratios can also provide better visibility in well-lit environments.
Conclusion
In conclusion, properly installing a projector screen from the ceiling is a straightforward yet crucial process to enhance your viewing experience. Begin by selecting a suitable location, ensuring it offers optimal visibility and complements the room's layout. Accurate measurements are imperative for precise positioning, considering screen dimensions and ceiling height. Choosing a sturdy and reliable mounting kit is essential to guarantee the screen's stability and safety.
Follow the manufacturer's guidelines closely during installation, paying attention to weight-bearing capacity and compatibility with your projector model. Incorporating cable management solutions not only maintains a neat appearance but also prevents potential hazards. Lastly, enlist the help of a friend or professional if needed, to ensure a seamless and secure attachment. By adhering to these guidelines, you can achieve a seamless ceiling-mounted projector screen setup that transforms your space into a cinematic haven, providing a captivating and immersive entertainment experience.


