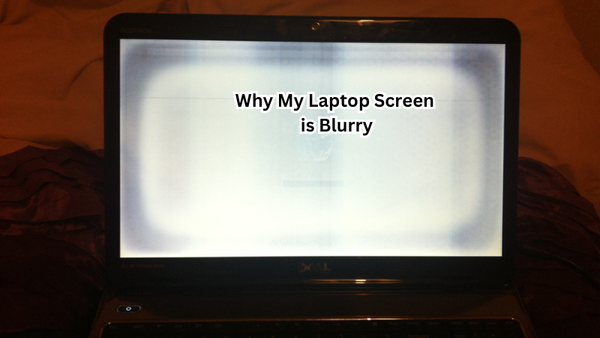
A functional Chromebook screen is essential for both productivity and entertainment, enabling users to interact seamlessly with their devices. However, screen issues such as cracks, black screens, and flickering can disrupt this experience, causing frustration and downtime.
Diagnosing the issue correctly is crucial before attempting any repairs, as it ensures that the appropriate solution is applied, preventing further damage and unnecessary costs.
This guide will walk you through the tools and materials needed, step-by-step instructions for addressing common screen problems, and important safety tips.
By following this comprehensive guide, you'll be equipped to restore your Chromebook screen to optimal functionality.
What is Chromebook?
Chromebook is a laptop or tablet running the Chrome OS operating system designed by Google.
It primarily uses web applications and relies heavily on an internet connection for most tasks. This makes it a popular choice for students, businesses, and everyday users due to its affordability, simplicity, and portability.
Moreover, Chromebooks offer a wide range of features and customization options, including different screen sizes and resolutions, touchscreens, and convertible designs. Therefore, understanding the specific model of your device is crucial for troubleshooting purposes.
Importance of a Functional Chromebook Screen
As mentioned earlier, the screen is the primary interface for users to interact with their Chromebooks.
It displays all the content and information needed to perform tasks such as browsing the internet, creating documents, and streaming media. A damaged or non-functional screen can severely impact productivity and entertainment, hindering the overall user experience. Additionally, a faulty screen can also be a safety hazard, especially in cases of cracked screens that expose sharp edges.
Additionally, a functional screen is essential for ensuring the longevity of your Chromebook. Neglecting screen issues can lead to further damage and potentially affect other components of the device, resulting in costly repairs or even replacement.
Therefore, addressing any screen problems promptly is crucial for maintaining the overall health and performance of your device. Also, keeping your screen in good condition can significantly increase its resale value if you plan to upgrade or sell your Chromebook in the future.
Diagnosing the Issue
Before diving into the repair process, it's essential to identify the root cause of the problem. The following are some common screen issues and their possible causes:
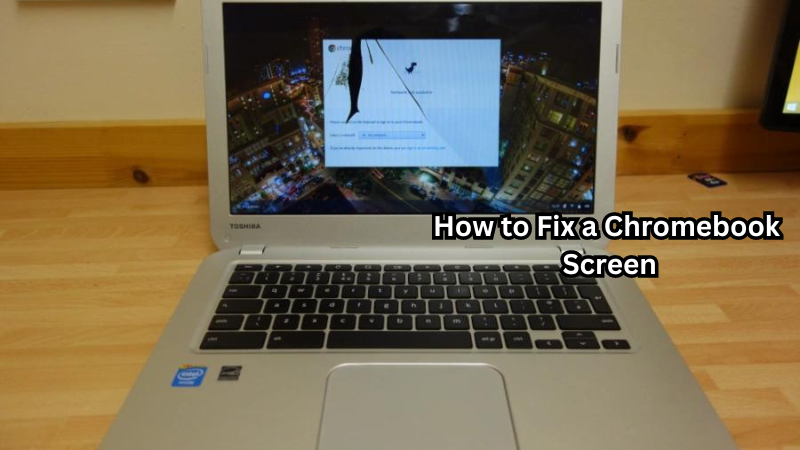
- Cracked Screen: A cracked screen is a common issue that can be caused by accidental drops, pressure, or even manufacturing defects. Depending on the severity of the crack, it can range from a minor inconvenience to rendering the screen unusable.
- Screen Flickering: This could be a result of outdated drivers, loose connections, or hardware malfunctions.
- Black Screen: One of the most frustrating issues, a black screen can be caused by software glitches, display settings, or damaged internal components.
- Dead Pixels: These are tiny dots on the screen that don't change color and can appear due to physical damage or manufacturing defects.
These are just a few examples; there could be other underlying causes for screen issues. If you're unsure, it's best to consult a professional or contact the manufacturer for assistance.
How to Fix a Chromebook Screen
Now that you have identified the issue, it's time to fix your Chromebook screen. Follow these steps for some common solutions:
Materials and Tools
Here are the tools and materials you'll need to fix your Chromebook screen:
- Microfiber cloth
- Pry tool or flathead screwdriver (if necessary)
- Replacement screen (if needed)
- Screwdriver set (specific to your Chromebook model)
- Double-sided adhesive tape
Step-by-Step Instructions for Common Screen Issues
1. Cracked Screen
If you have a cracked Chromebook screen, it's essential to act quickly to prevent further damage. Follow these steps:
- Start by turning off your Chromebook and unplugging the power source.
- Use the pry tool or flathead screwdriver to gently remove the plastic bezel around the screen.
- Take note of any screws holding the screen in place and unscrew them using the appropriate screwdriver from your set.
- Carefully lift out the damaged screen and disconnect any cables attached to it.
- Place the new screen in its position and secure it with screws if necessary.
- Reconnect any cables that were disconnected, making sure they are firmly attached.
- Place the plastic bezel back on and gently press it into place.
- Turn on your Chromebook to test if the screen is functioning correctly.
2. Screen Flickering
Screen flickering can be a tricky issue to fix, but try these steps:
- Update your Chromebook's graphics drivers by going to Settings > About Chrome OS > Check for Updates.
- If that doesn't work, check all connections between the screen and the motherboard of your device and make sure they are secure.
- If the problem persists, you may need to replace the screen altogether as it could be a hardware issue.
3. Black Screen
A black screen can be caused by various factors, so try these troubleshooting steps:
- First, check if the screen brightness is turned down or if the display settings have been changed.
- If that doesn't work, try booting your Chromebook in safe mode by pressing Esc + Refresh (circular arrow) + Power simultaneously until the device restarts.
- If you're still experiencing a black screen, it's best to consult a professional for further assistance as it could indicate a hardware problem.
4. Dead Pixels
Dead pixels are usually not fixable, and replacing the entire screen may be necessary. However, before doing so, consider trying these steps:
- Gently rub the area with a microfiber cloth to see if it's just dirt or debris causing the issue.
- If that doesn't work, try using a pixel-fixing software such as JScreenFix or UDPixel.
- If all else fails, replacing the screen is the best option.
Important Safety Tips
Here are some important safety tips to keep in mind when handling your Chromebook screen:
- Always turn off and unplug your device before attempting any repairs.
- Be gentle when handling the screen, as it is a delicate component of your Chromebook.
- If you're unsure about fixing the issue yourself, don't hesitate to seek professional help.
- Always wear protective gear, such as gloves and safety glasses, when handling any sharp or potentially hazardous materials.
How to Maintain Your Chromebook Screen
To ensure the longevity of your Chromebook screen, it's important to practice proper maintenance. Here are some tips:
- Use a microfiber cloth to clean the screen regularly.
- Avoid using harsh chemicals or abrasive materials when cleaning your screen.
- Never place heavy objects on top of your closed Chromebook, as this can damage the screen.
- If you notice any issues with your screen, address them promptly to prevent further damage.
- Consider investing in a protective case for your Chromebook to prevent accidental drops and impacts.
By following these maintenance tips, you can keep your Chromebook screen in good condition and avoid costly repairs or replacements. Remember, prevention is always better than cure when it comes to maintaining electronic devices.
How Much Cost for Chromebook Screen Replacement?
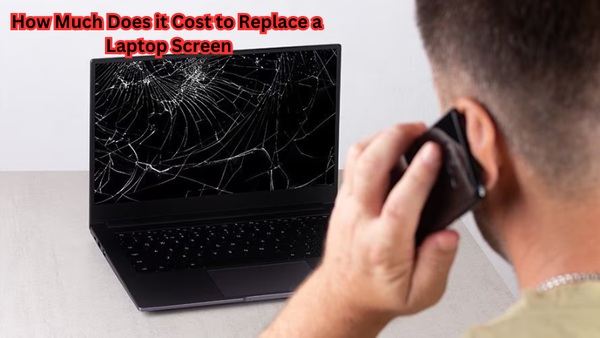
The cost of a Chromebook screen replacement can vary depending on the model and severity of the issue. On average, prices can range from $50 to $200 for a new screen. However, this cost may increase if you choose to have it repaired by a professional or if additional parts need to be replaced.
There are also third-party repair options available that may offer lower prices but be cautious as they may not use genuine parts and could potentially cause further damage to your device.
To avoid high costs for screen replacements, it's essential to take proper care of your Chromebook and address any issues promptly.
Consider investing in a protective case and regularly cleaning the screen to prevent potential damages. Additionally, purchasing a warranty or protection plan for your Chromebook may save you money in the long run if any screen issues arise.
Is Powerwash Necessary After a Screen Replacement?
Powerwashing, also known as factory reset, is not necessary after a screen replacement.
However, it may be recommended by the manufacturer or repair technician to ensure that any software issues are resolved and the device is functioning properly.
If you do decide to powerwash your Chromebook after a screen replacement, make sure to back up any important files beforehand as they will be deleted during the process.
It's always best to consult with the manufacturer or repair technician before making any drastic changes to your device's settings or software.
FAQs
How can I perform a hard reset on my Chromebook to fix the screen?
To perform a hard reset on your Chromebook to fix the screen, press and hold the Refresh key and the Power button simultaneously. This will restart the Chromebook's operating system and may resolve screen issues. If the screen is still not functioning correctly, further troubleshooting may be required.
What should I do if my Chromebook screen goes black after an update?
If your Chromebook screen goes black after an update, try entering recovery mode by holding the Esc key, Refresh key, and Power button simultaneously. This will allow you to update Chrome OS or reset the Chromebook's operating system to its default state. If this doesn't work, the issue might be due to a loose cable or hardware problem.
Can a loose cable cause screen issues on a Chromebook?
Yes, a loose cable inside the Chromebook can cause screen issues, such as flickering or a completely black screen. While some users might attempt to open the device and secure the cable themselves, it's often best to seek professional help for this type of hardware issue, as it might not be an easy fix.
How do I update Chrome OS to fix screen issues?
To update Chrome OS and potentially fix screen issues, go to the Chromebook's settings by clicking the clock in the bottom right corner, then selecting "Settings." Scroll down to "About Chrome OS" and click "Check for updates." Updating the operating system can resolve bugs or glitches that may be causing screen problems. If the screen is unresponsive, try entering recovery mode first.
Conclusion
In conclusion, correctly diagnosing screen issues on your Chromebook is essential to ensure effective repairs and avoid further complications.
Whether dealing with cracks, black screens, or flickering, understanding the root cause helps apply the right solution. If you're uncertain about performing the repairs yourself, don't hesitate to seek professional assistance to prevent inadvertent damage.
A fully functional Chromebook screen significantly enhances productivity, allowing for seamless work, study, and entertainment experiences. By following the steps outlined in this guide, you can restore your device to optimal condition and continue enjoying its full range of features and capabilities.
