Connecting your Vivint camera to your WiFi network is a vital aspect of maximizing the functionality and security of your home surveillance system. A seamless connection ensures that you can remotely access live feeds, receive alerts, and monitor your property with ease.
Whether you're installing a new camera or troubleshooting an existing one, the process of linking your Vivint camera to WiFi is straightforward yet essential for maintaining a reliable monitoring setup.
By following a few simple steps and guidelines, you can establish a stable connection that enhances the effectiveness of your home security measures. Let's explore the steps needed to connect your Vivint camera to WiFi efficiently and effectively.
What is Vivint Camera?
Before we delve into the process of connecting your Vivint camera to WiFi, let's briefly discuss what a Vivint camera is and why it's worth investing in one.
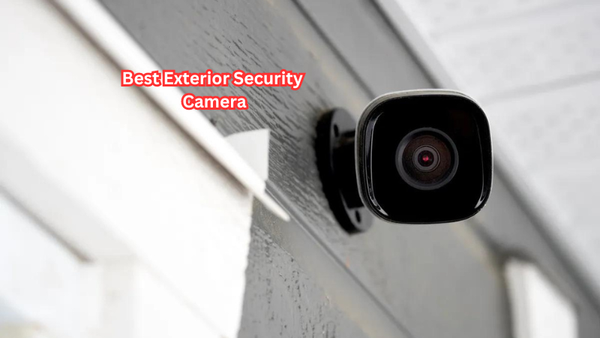
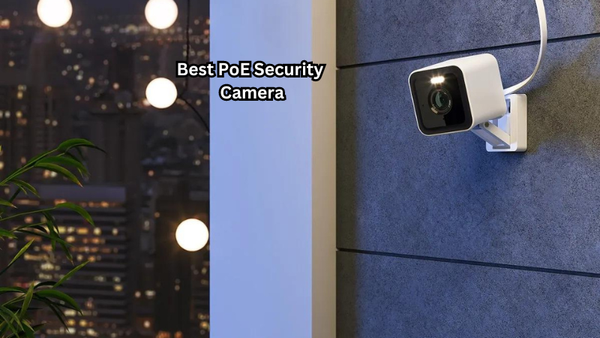
Vivint offers a range of smart home security cameras that provide advanced monitoring capabilities for homeowners. These cameras come equipped with features such as night vision, two-way audio, motion detection, and high-resolution video recording.
Not only do they serve as a deterrent to potential intruders, but Vivint cameras also enable you to monitor your property in real time and keep an eye on your loved ones. With the convenience of remote access and control through the Vivint app, these cameras offer peace of mind and added security for any homeowner. Its doorbell camera even allows you to see and speak to visitors at your doorstep, making it a valuable addition to your home security system.
How to Connect Vivint Camera to WIFI
Now, let's get into the steps for connecting your Vivint camera to WiFi. The process may vary slightly depending on the specific model of your camera, but the general steps are as follows:
Step 1: Check Your WiFi Network
Before attempting to connect your Vivint camera to WiFi, you must ensure that your home network is stable and has sufficient coverage in the area where you intend to place the camera. This will help prevent any potential connectivity issues and ensure a smooth installation process.
It's also essential to make sure that your internet service provider (ISP) is running smoothly and providing adequate bandwidth for your camera to stream high-quality video. If necessary, you may need to upgrade your internet plan to support the added devices on your network. Wifi settings that affect the connection include WPA and WEP encryption, MAC address filtering, and network SSID.
Step 2: Locate Your Camera
Once you've confirmed that your WiFi network is up and running, the next step is to identify the location of your Vivint camera. It's best to place the camera in an area with a strong WiFi signal and within reach of a power outlet. This will ensure that your camera stays connected to your network without any interruptions.
Step 3: Connect the Camera to the Power
Before attempting to connect your Vivint camera to WiFi, ensure that it is adequately powered by plugging it into an electrical outlet. This will prevent any connectivity issues that may arise due to insufficient power supply.
Step 4: Download the Vivint App
To connect your Vivint camera to WiFi, you'll need to download the Vivint app on your smartphone or tablet. Once downloaded, launch the app and log in using your Vivint account credentials.
Step 5: Add Your Camera
After logging in, click on the "+" sign at the top right corner of the app to add a new device. Select "Security Cameras" from the list of devices and follow the prompts to add your Vivint camera.
Step 6: Connect to WiFi Network
Once your camera has been added, go to the camera tab and select your device from the list. Click on "Settings" and choose "WiFi Network." Follow the prompts to connect your camera to your home WiFi network.
Step 7: Test Connection
After successfully connecting your Vivint camera to WiFi, it's essential to test the connection by accessing the live feed through the Vivint app. If everything is working correctly, you should be able to view the video feed and receive notifications for any detected motion.
Troubleshooting Tips
Here are a few troubleshooting tips in case you encounter any connectivity issues while attempting to connect your Vivint camera to Wi-Fi:
- If your camera is not connecting to WiFi, try resetting it by unplugging and plugging it back in.
- Ensure that your home network name (SSID) and password are entered correctly when prompted by the Vivint app.
- Make sure there are no obstructions or interferences between your camera and WiFi router.
- If all else fails, contact Vivint customer support for further assistance.
This article covered the essential steps to connect your Vivint camera to WiFi, ensuring that you can monitor your property with ease. By following these steps and troubleshooting tips, you can establish a reliable connection and maximize the effectiveness of your home surveillance system.
How to Connect Vivint Doorbell Camera Pro to WIFI
If you have the Vivint Doorbell Camera Pro, the process of connecting it to WiFi is similar to that of other Vivint cameras. However, there are a few additional steps involved:
Step 1: Check Your WiFi and Power
As with any camera, ensure that your home network is stable and has sufficient coverage in the area where you intend to place the doorbell camera. Also, make sure that your doorbell is adequately powered by connecting it to an electrical outlet.
Step 2: Download and Launch the Vivint Smart Home App
Download the Vivint Smart Home app on your smartphone or tablet and log in using your account credentials.
Step 3: Add Your Doorbell Camera Pro
Click on the "+" sign at the top right corner of the app and select "Security Cameras." Follow the prompts to add your doorbell camera pro. Tap the menu icon on the top left corner of the app and select "Settings." Choose "WiFi Network" and follow the prompts to connect your doorbell camera to your WiFi network.
Step 4: Scan the QR Code
Once your doorbell camera pro is added, you will be prompted to scan a QR code on the device using your smartphone's camera. Simply follow the instructions in the app to complete this step.
Step 5: Connect to WiFi Network
After scanning the QR code, you will be prompted to connect your doorbell camera pro to your home WiFi network. Follow the prompts in the app and enter your network name (SSID) and password when prompted.
Step 6: Test Connection
Once connected, test the connection by accessing the live feed through the Vivint app. You should be able to view the video feed and receive notifications for any detected motion. Doorbell button presses will also trigger notifications.
Smart home devices, such as the Vivint Doorbell Camera Pro, can enhance your home security by providing real-time surveillance and remote access to your property. By following these steps, you can easily connect it to WiFi and experience the convenience and peace of mind that comes with a smart home system.
Benefits of Connecting Your Vivint Camera to WiFi
Aside from the obvious convenience of being able to access and monitor your property remotely, connecting your Vivint camera to WiFi offers a few additional benefits:
- Improved video quality: A stable WiFi connection allows for better video quality, providing clearer images and smoother live feeds.
- Increased functionality: With a WiFi connection, you can access advanced features such as two-way audio, remote pan and tilt, and customized notification settings.
- Easier integration with smart home systems: WiFi connectivity allows for seamless integration with other Vivint devices and smart home systems, providing a more comprehensive home security solution.
FAQs
Why won't the Vivint panel connect to WiFi?
This could be due to a few reasons, such as an incorrect network name (SSID) or password, insufficient WiFi coverage in the area, or interference from other devices. Refer to the troubleshooting tips above for help resolving this issue.
What happens if my WiFi connection is lost?
If your Vivint camera loses its WiFi connection, it will continue recording and storing footage locally until the connection is restored. You will not receive live updates or be able to access the camera remotely during this time.
Why are Vivint cameras offline?
Vivint cameras may go offline due to issues with the WiFi connection, power outage, or technical difficulties. If your camera is offline, try resetting it and checking for any connectivity or power issues. Contact Vivint customer support if the problem persists.
Conclusion
In conclusion, ensuring your Vivint camera is successfully connected to your WiFi network is pivotal for maintaining a robust home security setup. By following the prescribed steps and guidelines provided by Vivint, you can guarantee seamless monitoring, timely alerts, and remote access to your camera feed.
A secure and stable connection not only enhances your ability to keep an eye on your property but also contributes to your overall peace of mind and sense of security.
Whether you're safeguarding your home against potential threats or simply seeking added convenience in monitoring your surroundings, a properly connected Vivint camera plays a vital role. Embrace the empowerment that comes with a well-connected surveillance system and enjoy the enhanced safety and control it brings to your daily life.

