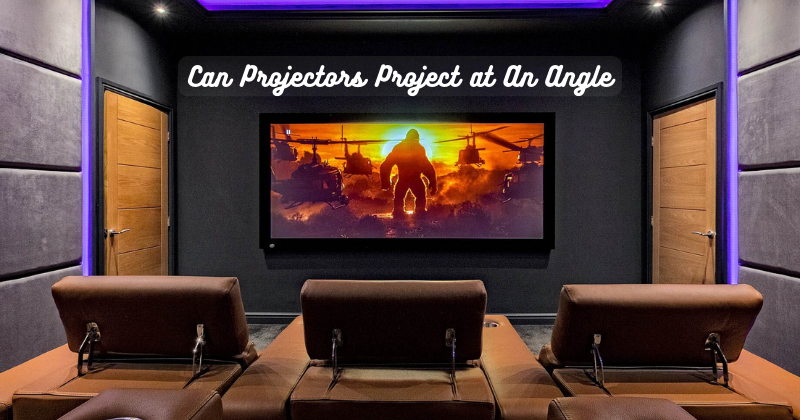
Projectors have become integral to modern presentations, movie screenings, and immersive gaming experiences. Traditionally, projectors are positioned directly before the screen or wall to project a clear image.
However, technological advancements have enabled projectors to launch at an angle. This means you no longer need to place the projector directly in front of the screen; it can be positioned off to the side above or below the projection surface.
Projectors can adjust the image to compensate for the angle by utilizing features like keystone correction and lens shift, ensuring a distortion-free and visually stunning display.
This flexibility opens up new possibilities for creative installations and setups, enhancing the overall user experience. This guide will explore the capabilities of projectors to project at an angle and provide tips for optimizing your setup.
What does it mean to Project at an Angle?
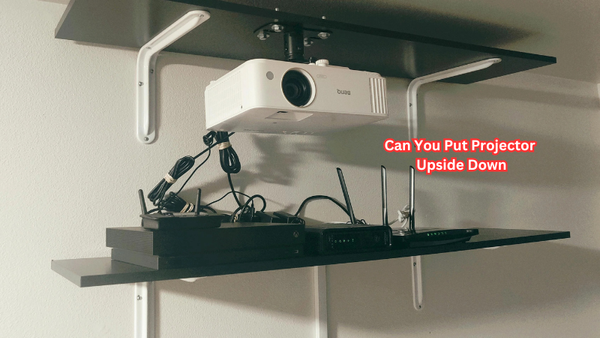
Projecting at an angle means that the projector is not positioned directly in front of the projection surface but at an angle. This can be achieved by mounting the projector on a ceiling or wall or using specialized stands and mounts to adjust its position. Doing so lets you project the image onto a screen surface not directly in front of the projector.
Furthermore, projectors can be tilted or rotated to project images on surfaces not parallel to the ground. For example, you can use this technique to project onto a curved surface, creating an immersive and visually striking display.
Possible Issues with Using a Projector at an Angle
While projectors can project at an angle, some potential issues should be considered. One of the main concerns is image distortion caused by the keystone effect. The keystone effect refers to the trapezoidal distortion when a projector is not positioned directly in front of the screen or wall. This usually results in a skewed image where the top or bottom appears wider than it should be.
Thankfully, most projectors come equipped with keystone correction, which digitally adjusts the image to correct this distortion. However, excessive use of keystone correction can result in affect image quality and resolution. Balancing angle and keystone correction is important to achieve the best image angle display.
Another issue to consider is light reflection and glare. When projecting at an angle, the light emitted from the projector may reflect off of nearby surfaces, causing distractions and reducing overall image clarity. This can be mitigated by properly positioning the projector and ensuring it is not too close to any reflective surfaces. Off-axis projection lenses can also help reduce glare and maintain image quality.
Off-axis light loss is also a potential concern when projecting at an angle. This refers to the decrease in brightness and contrast when light travels further through the lens at an angle. However, using a projector with high-lumen output or utilizing ambient light rejection screens can compensate for this.
Can Projectors Project at An Angle?
The answer is yes! With the right setup and equipment, projectors can project at various angles. This includes horizontal, vertical, or even diagonal projection. In detail, projectors can achieve this through the following methods:
Keystone Correction:
As mentioned earlier, this feature digitally adjusts the image to correct for distortion caused by projecting at an angle. Most projectors have both vertical and horizontal keystone correction capabilities. Ambient light sensors can also help detect the adjustment needed for optimal image quality.
Most projectors projected image can be corrected up to +/- 30 degrees vertically and horizontally, although this may vary slightly depending on the model. Manual keystone correction allows for precise adjustments, while others have automatic features that adjust the image in real time as you move the projector. The keystone effect can be manually corrected by adjusting the screen or wall horizontally or vertically. But this may not always be practical, depending on the setup.
Lens Shift:
Lens shift is another feature that helps projectors achieve angled projections. Unlike keystone correction, which digitally adjusts the image, lens shift physically moves the lens to align with the projection surface. This method minimizes distortion and maintains optimal image quality. Lens shift usually allows for vertical and horizontal adjustments, making it an effective solution when projecting at an angle.
Projector lens shift capabilities vary depending on the model, but most projectors offer a range of adjustments to cater to various angle projections. Some high-end projectors even come with motorized lens shifts, allowing remote control adjustments for added convenience.
Off-axis Projection Lenses:
Off-axis projection lenses are specialized lenses that position projectors at extreme angles while maintaining image quality and brightness. These lenses can correct for off-axis light loss, glare, and distortion.
They are particularly useful for creative installations where the projector needs to be placed at a unique angle. These lenses can be attached to the projector's standard lens, providing additional placement and projection angles flexibility. Ambient light-rejecting screens can also be used with off-axis projection lenses for optimal image quality.
The aspect ratio is another important consideration when projecting at an angle. Most projectors have a native aspect ratio of 16:9 or 4:3, which should be considered when selecting your projection surface. If the projected image does not match the screen or wall's aspect ratio, it can result in stretched or cropped images.
Use Projector Mounts for Optimal Placement:
To achieve the best results when projecting at an angle, it's crucial to have a stable and secure mounting system in place. Projector mounts are designed to hold projectors securely in place and allow for precise positioning. They come in various types, including ceiling mounts, wall mounts, and even floor stands.
Follow the manufacturer's instructions and guidelines when setting up your projector mount. This ensures that the mount can support the weight of your projector and is properly secured to prevent any accidents or damage.
Test and Fine-Tune:
Once you have your projector set up at an angle, testing and fine-tuning the projection for optimal viewing is essential. This may involve adjusting keystone correction or lens shift settings to achieve a clear and aligned image. Experimenting with different angles and projection surfaces can also help find the best setup for your needs. Most of angled projector issues can be solved or improved with proper testing and adjustments.
With the right equipment and proper setup, projectors can project at an angle without compromising image quality. Angled projection offers versatility and flexibility in displaying content, whether for creative installations or practical purposes. So go ahead and explore what's possible with projecting at an angle! Just remember to find the balance between keystone correction and angle to achieve the best results.
Benefits of Projecting at an Angle:
Aside from the added flexibility in placement, there are several other benefits to projecting at an angle. These include:
- Minimizing obstructions: Sometimes, a projector may need to be placed at an angle to avoid obstructions such as light fixtures or ceiling fans. Angled projection allows for this without sacrificing image quality.
- Creating unique effects: By projecting at an angle, you can create interesting and unique visual effects, such as projecting onto a curved surface or creating multi-screen displays.
- Increased viewing angles: Angled projection allows for better viewing angles for larger audiences, making it ideal for presentations or movie screenings in unconventional spaces.
- Better use of space: Angled projection can use awkward or unconventional spaces, such as projecting onto a slanted ceiling or the side of a building.
Projecting at an angle adds versatility and creativity to your projector setup. So, next time you set up a projector, don't be afraid to experiment with different angles and projection methods to achieve the best results for home theater. So go ahead and explore what's possible with projecting at an angle! Just remember to find the balance between keystone correction and angle to achieve the best results.
Different Types of Projection Materials and Recommended Angles of Projection:
Various projection materials are available, each with its unique features and recommended projection angle. Here are some popular options and their optimal projection angles:
- White screens: A white screen is the most commonly used projection surface, which provides a neutral base for displaying images. White screens have a wide viewing angle and can be projected at any angle without compromising image quality.
- Grey screens are a popular option for high-contrast projections, as they enhance black levels and colors. The recommended angle for projecting onto a grey screen is 0-15 degrees.
- Silver screens: Silver screens are specifically designed for 3D or polarized projections and provide a higher reflectivity than white or grey screens. They have an optimal projection angle of 25 degrees.
- Rear projection screens: Rear projection screens are designed to be viewed from behind the screen, making them ideal for creating a transparent or holographic effect. The recommended angle for projecting onto a rear projection screen is 0-15 degrees.
By considering the type of projection material and recommended angles, you can achieve the best results for your angled projection setup.
FAQs
Can you put a projector on a slanted wall?
Yes, you can project onto a slanted wall, but it is essential to consider the angle and adjust keystone correction and lens shift settings accordingly for optimal image quality. Using an off-axis projection lens may also help achieve better results.
Do projectors need to be straight?
While it is recommended to have a straight and level projection surface, projectors can still function when projected at an angle. However, this may result in distorted or uneven images if not adjusted properly. Projected light is not inherently straight, and projectors use lenses to focus the light onto a flat surface.
What is the best angle for a projector?
The best angle for a projector depends on various factors, including the type of projection material and the desired image quality. Generally, angles between 0-25 degrees are recommended for optimal results. Experimentation and fine-tuning may be necessary to find the perfect angle for your specific setup. Projector's angle for your angled projection setup depends on the type of projection material and desired image quality.
What is the 4 6 8 rule for projectors?
The 4 6 8 rule for projectors refers to the recommended distance between the projector and the screen. For every four feet in diagonal screen size, the projector should be placed six feet from the screen. This ratio may vary depending on the type of projection material used and the desired image quality.
Conclusion
In conclusion, the ability of projectors to project at an angle has revolutionized how we think about their placement and usage. With technological advancements, projectors can now be positioned off-center or above or below the projection surface without compromising image quality. Projectors can compensate for the projection angle and deliver distortion-free visuals by utilizing features like keystone correction and lens shift.
This flexibility opens possibilities for creative installations, enabling unique and immersive experiences. However, it is important to note that excessive angling may harm the projector's performance and longevity. Maintaining a perpendicular alignment for optimal results is recommended. Overall, the capability of projectors to project at an angle enhances versatility, allowing users to create captivating displays and enjoy immersive content from various positions.


